Construction of the Laurel Houppelande: In the Devonshire Hunting Tapestries Style
by Cynthia du Pré Argent
© 2000 Cynthia Virtue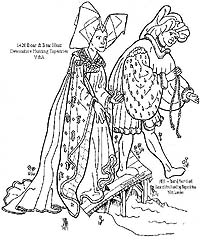
|
Construction of the Laurel Houppelande: In the Devonshire Hunting Tapestries Styleby Cynthia du Pré Argent© 2000 Cynthia Virtue |
|
You should read the page about the rotated-point, circle plan houppelande if you are interested in the theory behind this construction. This page only covers construction of one in more depth than on the theory page.
Weight: 20 pounds. (Don't store this sort of houp on a hanger!)
15 yards of 64" wide green cotton damask (sale price: $3/yard, store going out of business. Normal price $18/yd.)
3 yards of fancy fake mink at 62" wide ($15/yd) see note on mink below.
2 yards of cheaper nice fake fur at 60" wide. ($10/yd)
The brown cotton lining was probably 20 yards. ($3/yd)
The hem is 14 yards around. The train is 4 feet from my feet; the rest of the hem is one foot longer than the floor.
Probably took 10 hours of sewing on the machine. Layout time and math-checking was probably 4-8 hrs. One time around the hem on the sewing machine took 45 minutes; it took 4 iterations all told, due to the fur.)
Note: the lighter green dagged thing around the neck area is the tail of the hat, not part of the dress.
Choice of fake mink: One of the major arguments for fake mink in garb is that it is designed with join lines to imitate where the pelts are sewn together -- a feature missing from all other fake furs that I have seen.
Although it represents a N.Am animal, I think this added realism nearly balances the equation the other way, as there certainly aren't European animals which have pelts so wide that they never need joining. Other small animal furs native to Europe and larger fur animals would look more like the fake mink than like vast swaths of undifferentiated fur.
Overall shape: First I had to look at the tapestries and take notes. I measured how long the trains were relative to the women's bodies. I estimated how long the hems were. I looked at the way the sleeves hung, and how long. Then I converted notes such as "train as long as from feet to bust" into measurements that fit me.
The sleeves were an interesting puzzle. Modern fitted sleeves
with a back seam and the S-curve at the sleeve top, produced no
fullness
near the shoulder, but the tapestries seemed to have fullness there,
without
obvious pleating into the armscye (ie, armhole.) So I tried an
absolutely
straight sleeve top -- no shaping; just like half an oval with the flat
side to the armscye. I liked the way it looked, so I went with
this
simple solution.
 |
 |
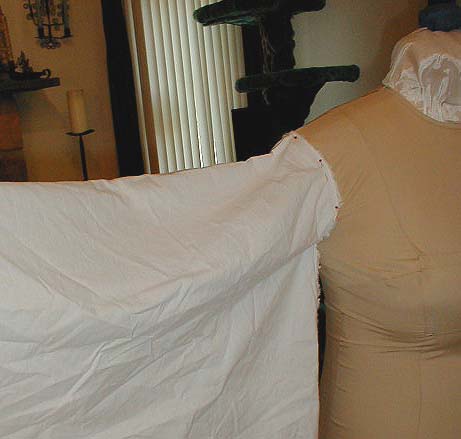 |
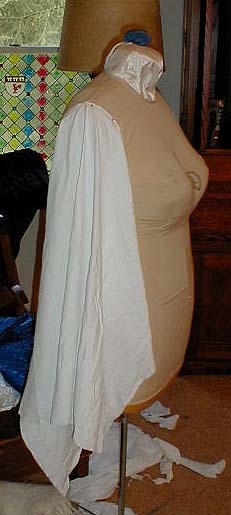
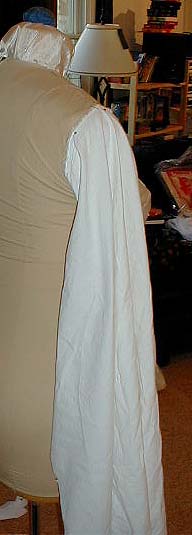
| rectangular muslin drape | drape from behind | muslin held out to show straight edge along body |
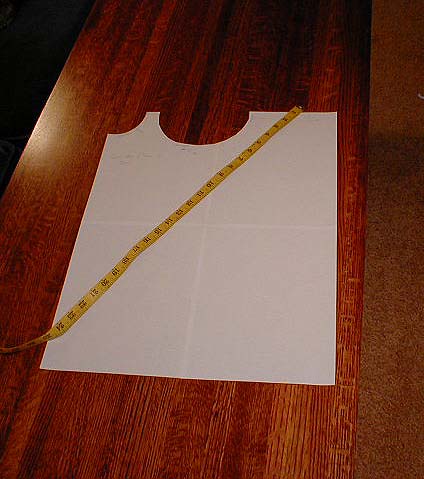
| Paper pattern for the shoulder cut out and the armscye.
Armscye
should not be a half-circle, I discovered. It should only be a
slit in the seam or the fabric. See the main circle houp page for details. |
 |
| Pattern laid out at shoulder location on fabric. Be sure that if the fabric design has an up or down, that you've got right sides together and going the right way. | 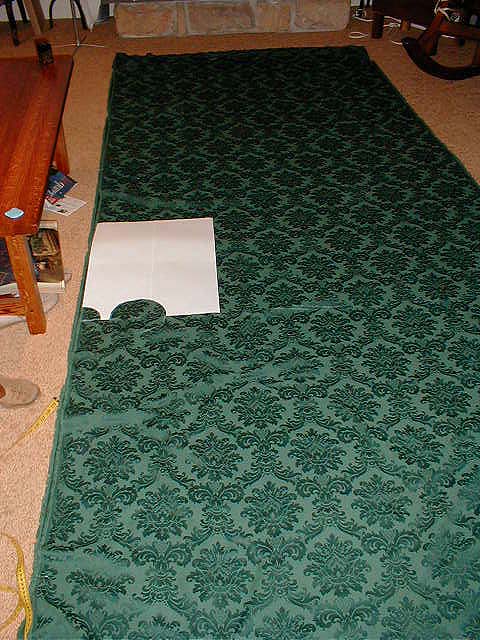 |
| The perils of cats and sewing. | 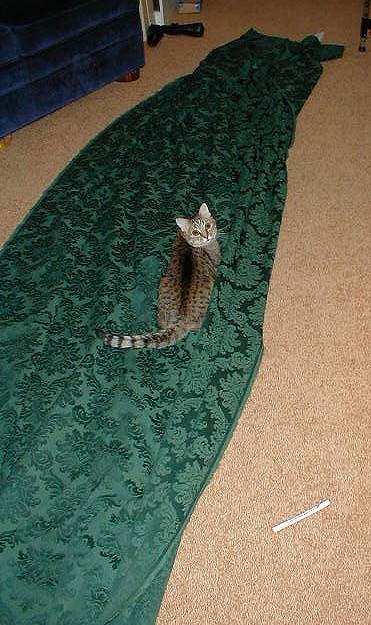 |
| The cut body fabric laid out on the lining fabric as a
pattern for
the lining. You can see the half-oval "wheel piece" on the right,
where the fabric was not wide enough at the sides and was
extended.
Likewise, the brown lining had to be extended with a darker brown piece. The two 'holes' near the middle are the curve for the shoulder seam and the armscye. |
 |
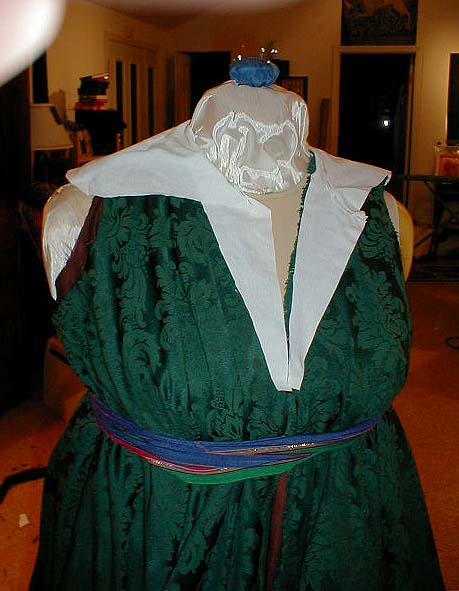
| Working on draping the collar. I wanted one that would
look like
the straight-edged 'peter pan' collar and, when open, make a nice V
like
others in the tapestries.
It also had to fill in the V in front and back caused by the selvege edges (see below) The near side of the muslin is closed, as if meeting the far side, which is in the open configuration. |
 |
| Final collar shape. | 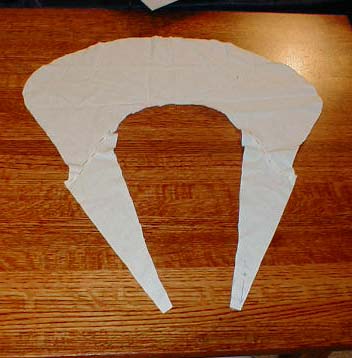 |
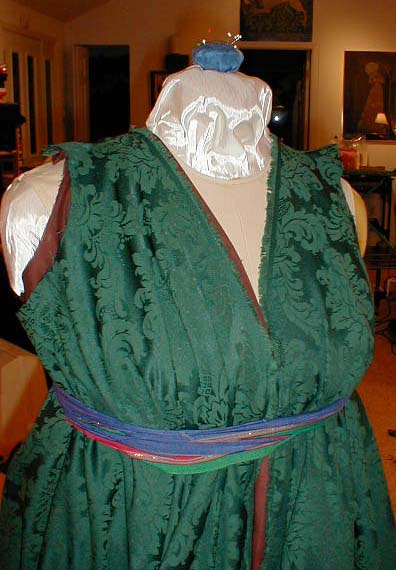
| Selvedge edges. Note the rise at the armscye.
This goes away if there is no cut out for the sleeve, but only a slit. |
 |
| Shape of the final sleeve. | 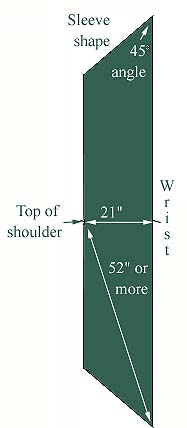 |
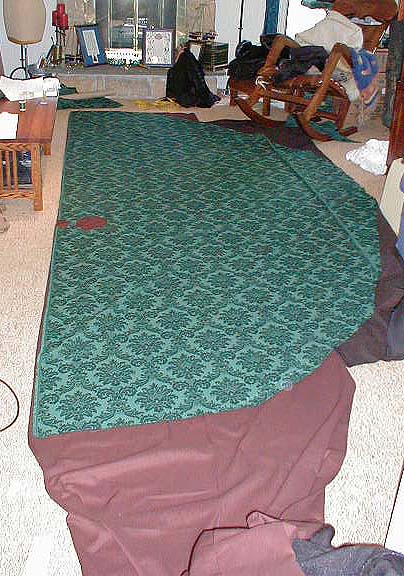
| Dress on dummy; skirt spread out so that hem trimming can be done evenly. (I measured from the belt.) | 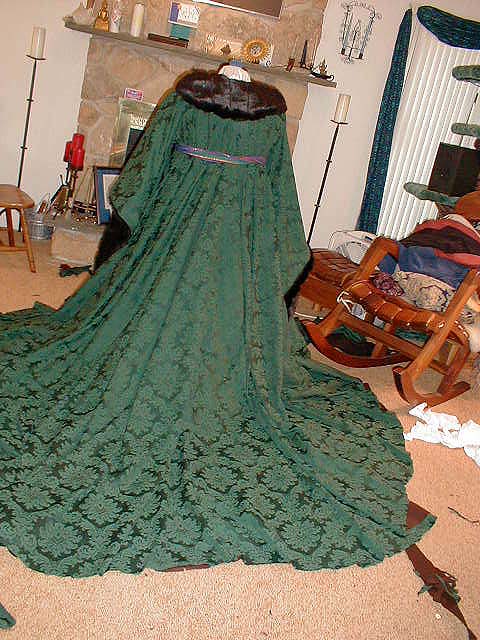 |
| Trimmed edge, theoretically, the lining and the good fabric are now identical. You can just barely see the pressed seam for the wheel piece -- start at the lower edge of the picture and follow the hem up about half an inch on the screen. | 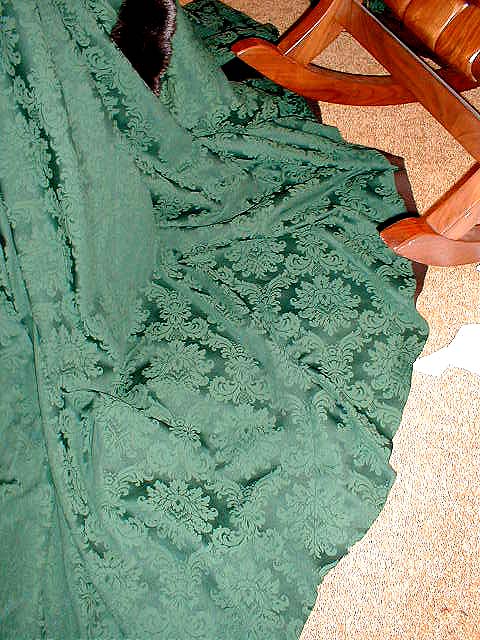 |
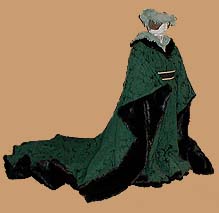
| Finished houp from the back. The sleeves are fully
lined with
the fake mink. The hem has a 14" fur border on the lining, made
up
of 7" of mink and 7" of plain black fur. The mink, of course, is
at the edge where it is more likely to show.
From the tapestries, I believe the fur they used was thinner than the mink, probably similar in thickness to medium or light rabbit fur. |
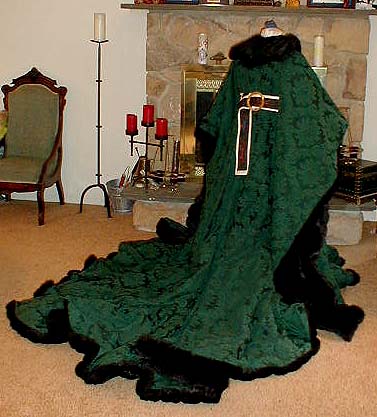 |
| Collar, finished, closed | 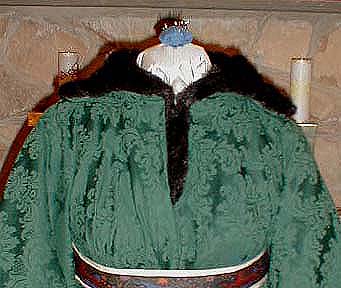 |
| Collar, finished, open | 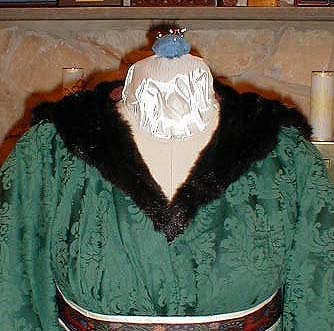 |
| Finished houp from the front (click on this picture for large version) | 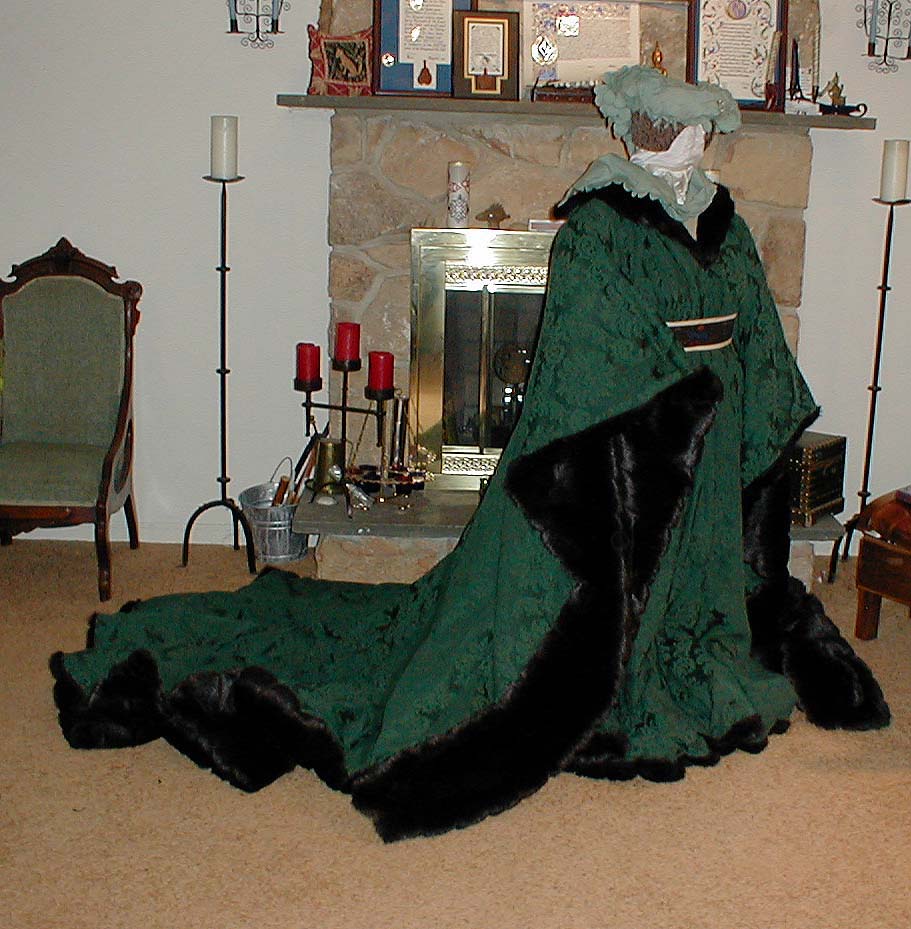 |
| All material ©2001 Cynthia Virtue | Email Author with comments |
| Back to Virtue Ventures Main Page | Back to Article Index |